Things needed:
1. PC
2. Colour inkjet printer
3. Heat transfer paper
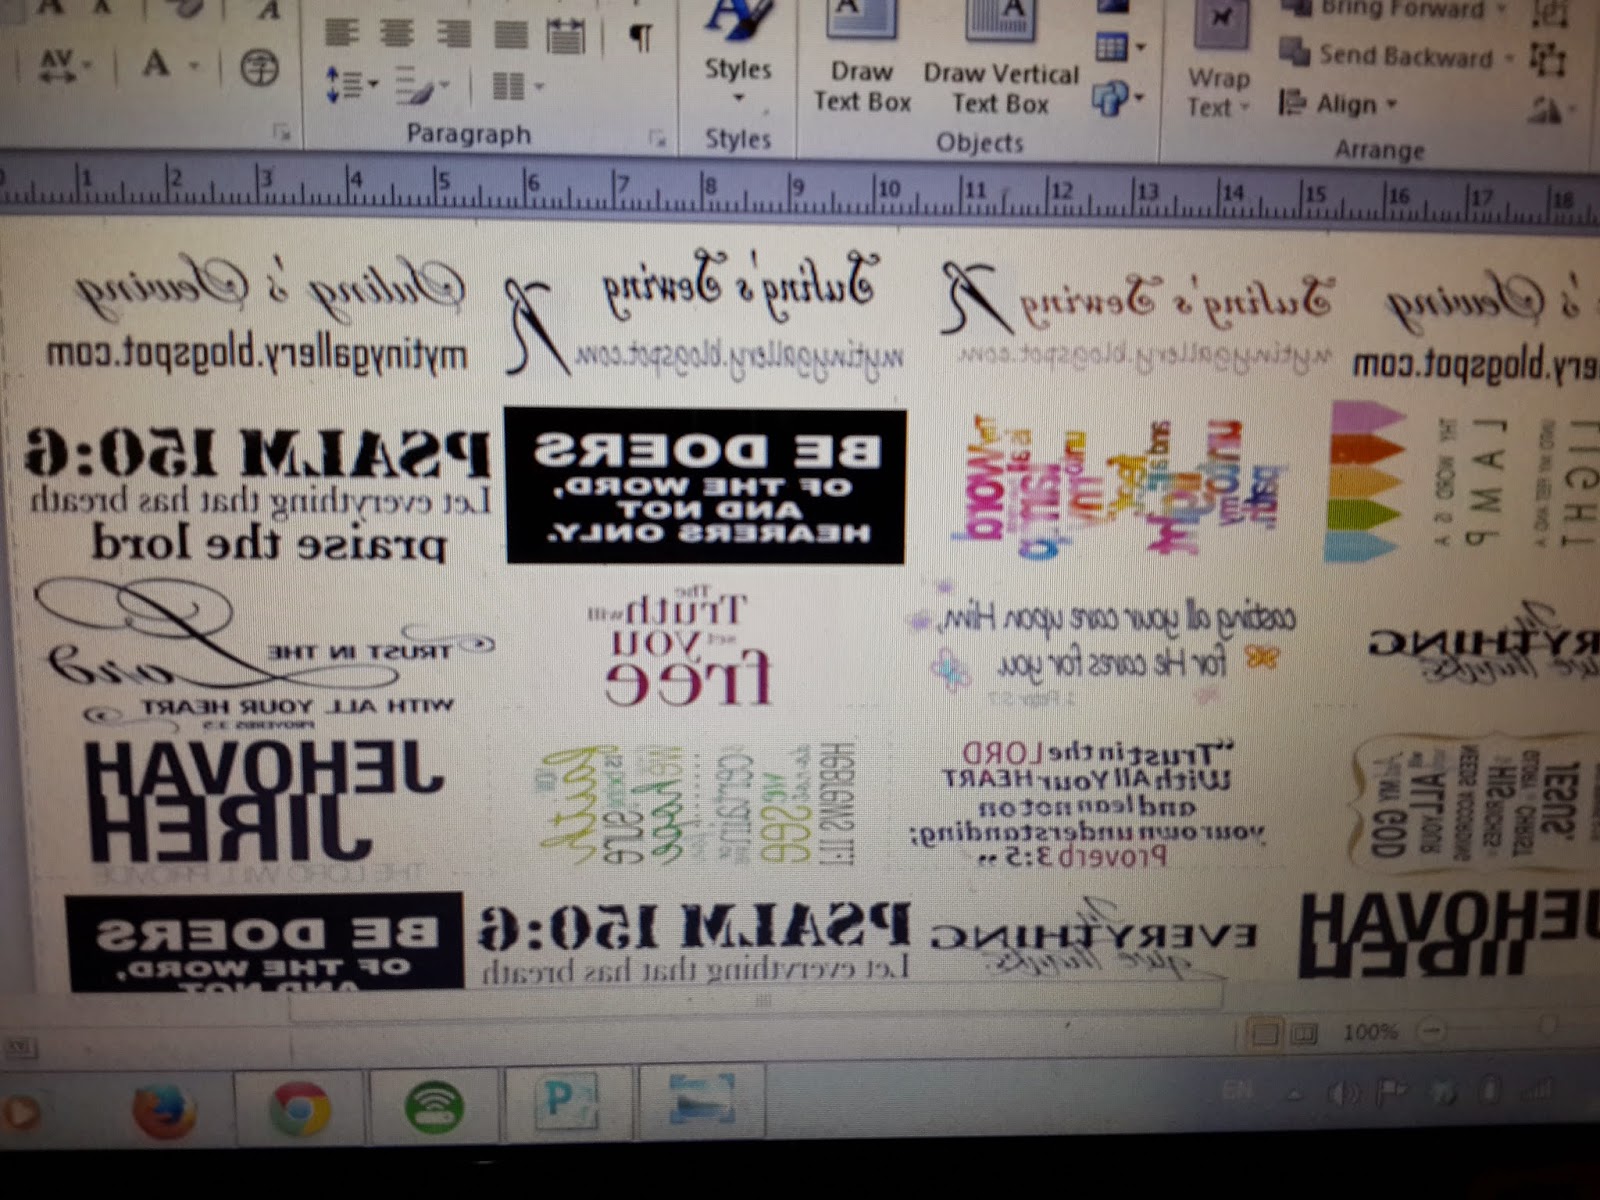
4. White cotton fabric or cotton tape
5. Iron
2. By using Publisher, insert the designs as pictures. This is VERY IMPORTANT. Flip your inserted pictures to get a mirror image.
3. Instead of the same design on the whole paper, I prepared a variety of them and arrange them as close as possible to maximize the space.
4. Before printing on the transfer paper, test print it on a piece of ordinary paper to check on the alignment and colour. Do the necessary changes
5. Then print it on the transfer paper.
6. Cut out the labels and transfer them on cotton fabric or cotton tape. Align the cut outs with the pictures facing the fabric/tape.
7. Place iron on high heat on the labels and fabric/tape for around 2 - 3 minutes or according to the instruction of the transfer paper.
Note: If using satin or other fabric than cotton, it is advisable to layer the label and fabric with another thin cloth as the fabric might not be able to stand high temperature.
Please use dry iron. Steam or water may smear the ink on the transfer paper.
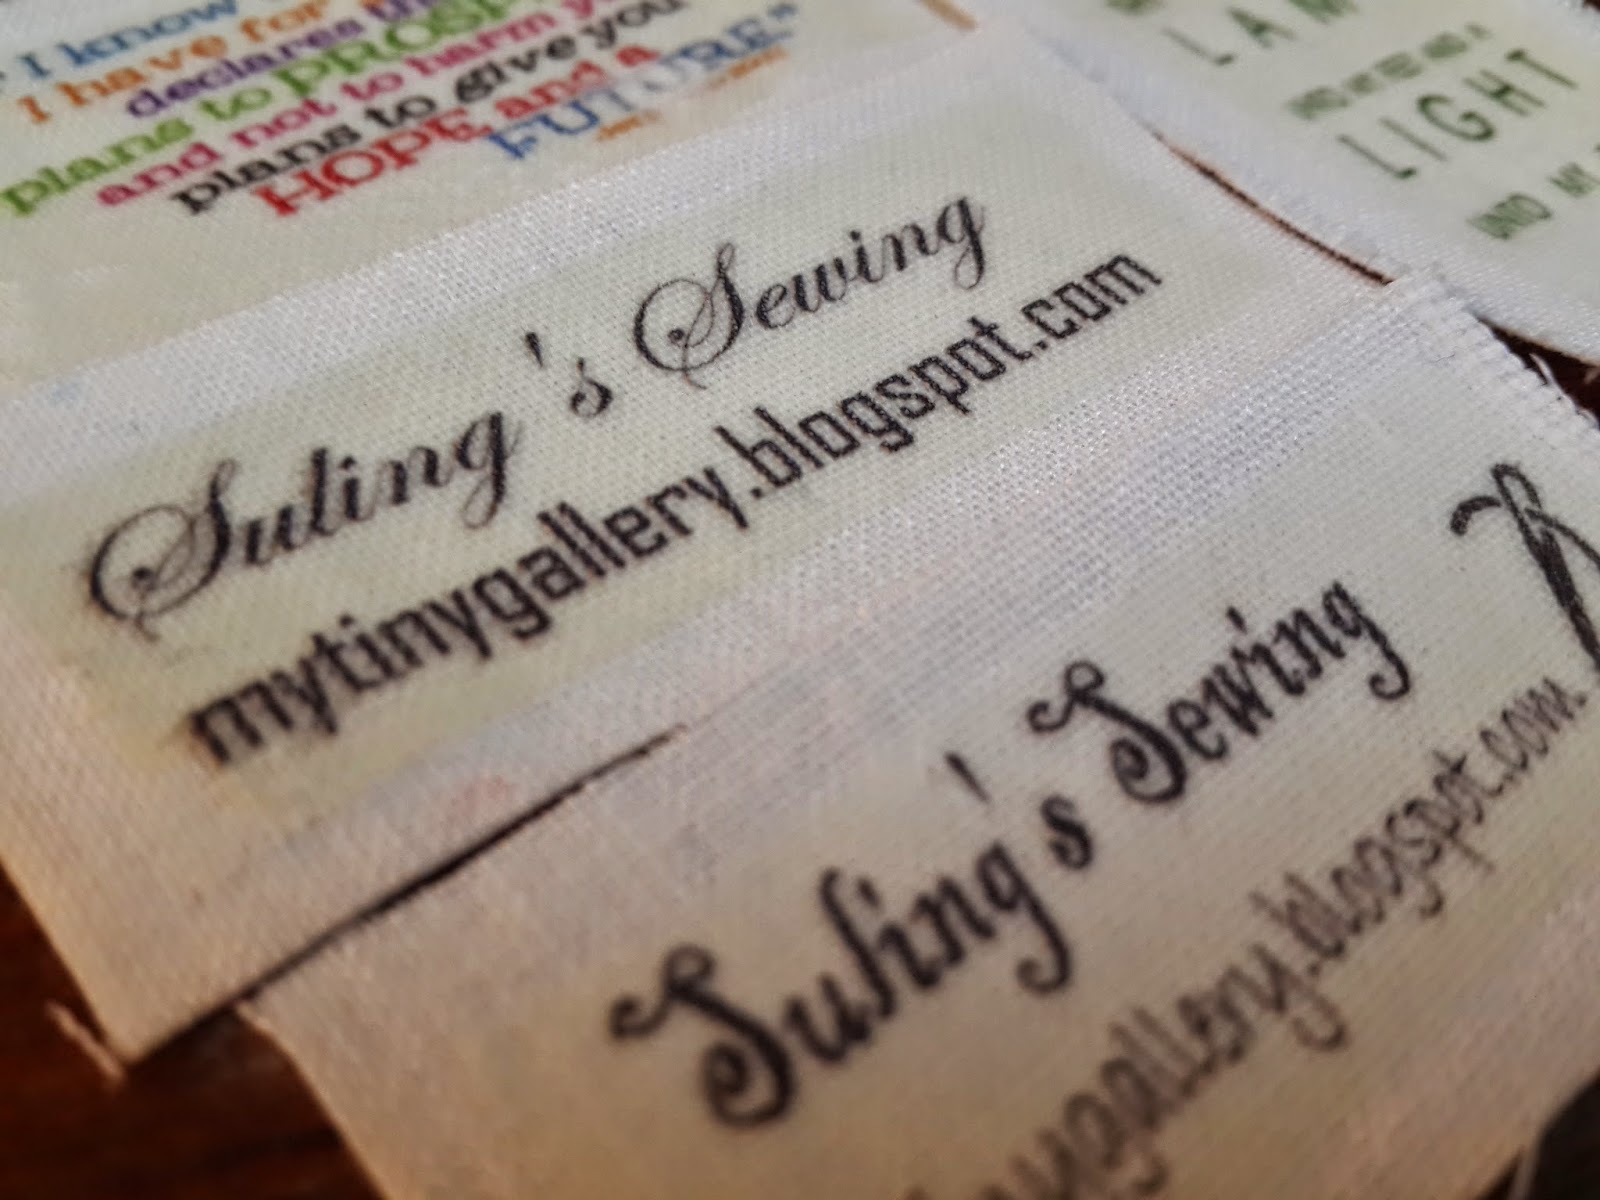
8. After it cools, peel off the transfer paper from the fabric/tape and there you go, your signature fabric label to be sewn on your projects.
Note:
transfer papers can be purchased from:


No comments:
Post a Comment