Thursday, October 23, 2014

Experimenting with waterproof fabric

I have been very curious about waterproof material but never had the courage to purchase one until recently.  I cannot resist the cute doggy design on one of the waterproof material with a reasonable price in a local online craft supply store.  So I decided to purchase not 1 but 2  waterproof fabric. 

 The first thing came into my mind when I received and opened the package was ' Oh no, I bought a plastic table cloth!'  Yes, it really looks and feels like those vinyl table cloth sold by meter in the local sundry shops here.  And yes...I should have done a bit of research and made some inquiry from craft supply store before purchasing them.
Lollipop and Tiny dog

Well, apparently there are many types of waterproof fabric but the ones I purchased just stated 'waterproof fabric'.  They look like oily cloth except that they are less shiny.  Anyway, since I have bought them, I just need to experiment with them.  I decided to make mini back pack coin pouch ( pattern by Katherine Greaves  from www.sewmesomethinggood.blogspot.ca) and simple pencil cases.


Here are my findings:

1.  To my surprise, they very manageable with the normal sewing and zipper foot.  There is no need to use roller foot.
2.  They are easy to cut and sketch/draw on.  
3.  It does not fray and not stretchable
4.  They are pliable and easy to work on.
5.  No need interfacing or stabilizer as the material has its own stiffness
6.  Use pins only at the seams.
7.  Ripping off seams will leave many tiny holes on the fabric.  Try to get it right the first time (which I find difficult for the mini back pack coin pouch....)
8.  Do not iron on the material.

Conclusion:  Overall, I find the fabric is very easy to work on and I am very happy with the outcome :-)


So here they are a set of pouches for 'him and her'.


A set of pouches from tiny dog waterproof fabric - just nice for the boys.

A set of pouches from lollipop waterproof fabric - sweetly for the girls

Monday, September 29, 2014

Tutorial: Making your own fabric label


Things needed:
1.  PC 
2.  Colour inkjet printer
3.  Heat transfer paper
4.  White cotton fabric or cotton tape
5.  Iron

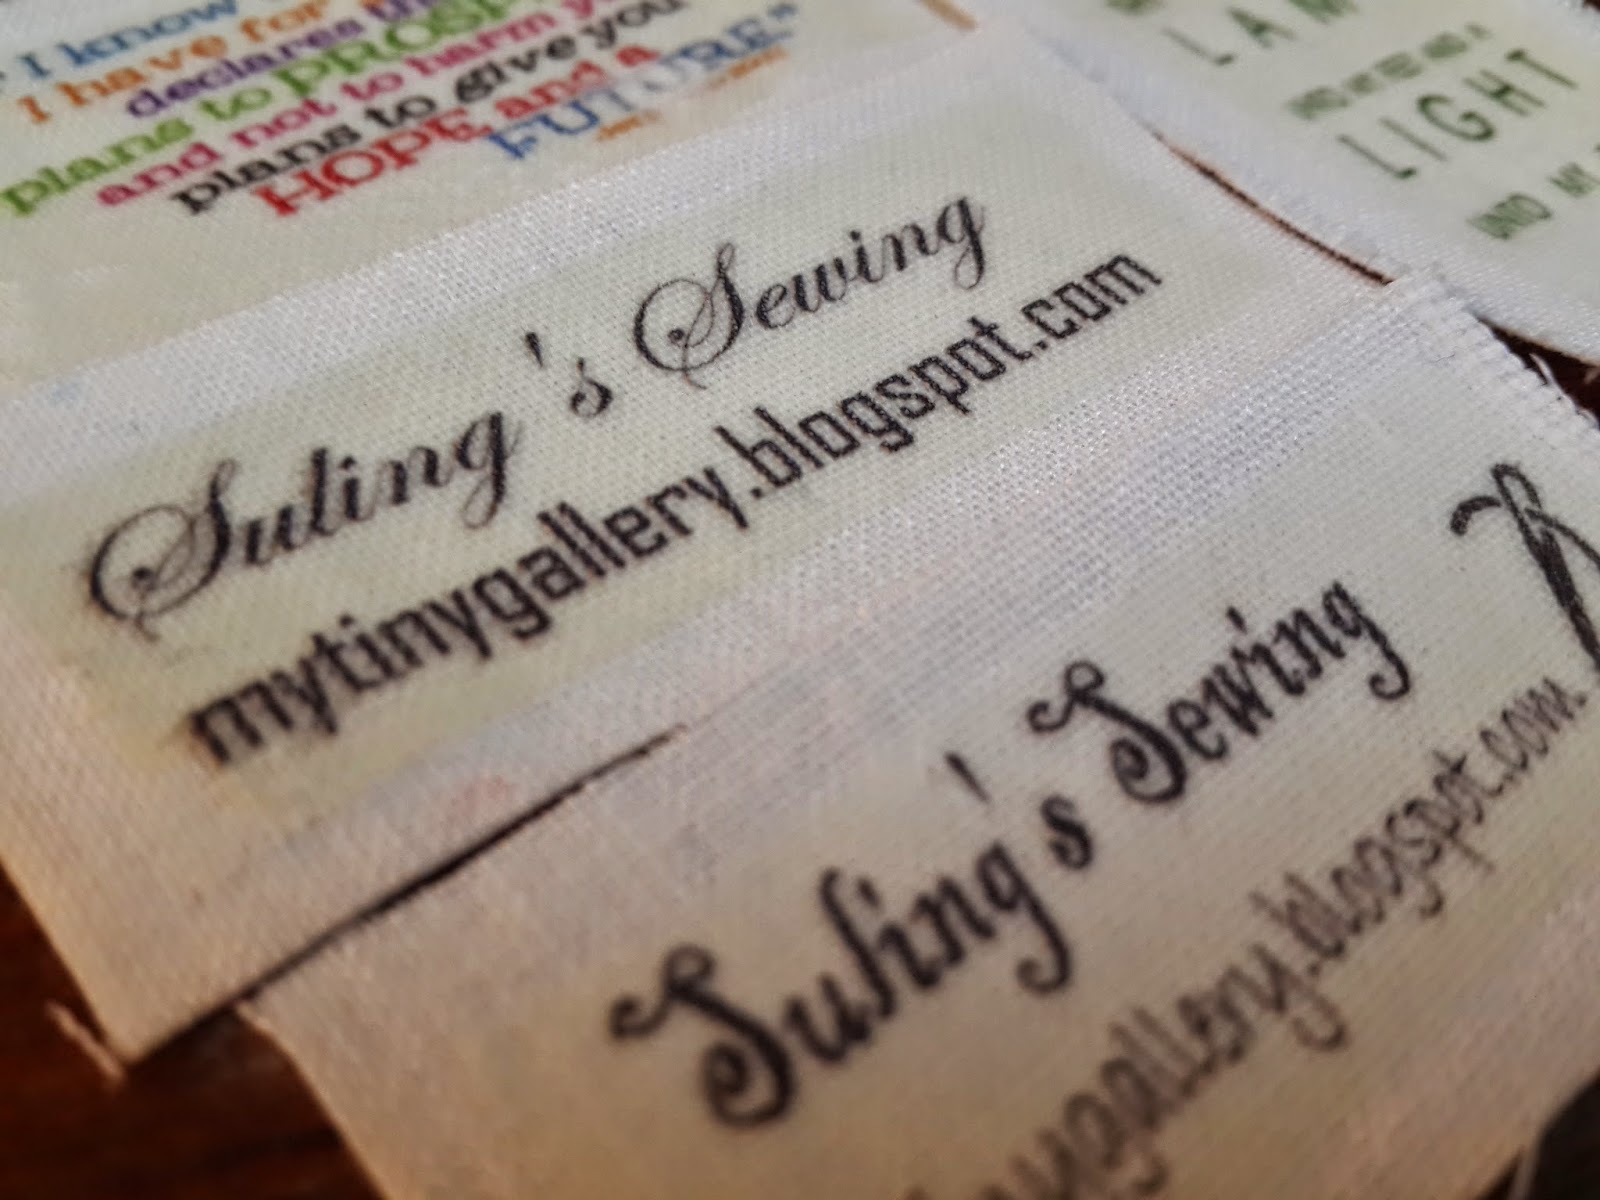
 1.  Design your label.  I made a variety of labels comprising my own signature label - Suling's Sewing and a collection of inspiring bible verses.  I use Paint application to design my labels and save it in PNG format. As for the bible verses, I downloaded the various available designs and save it in JPEG format.


2.  By using Publisher, insert the designs as pictures.  This is VERY IMPORTANT.  Flip your inserted pictures to get a mirror image.


3.  Instead of the same design on the whole paper,  I prepared a variety of them and arrange them as close as possible to maximize the space.  

4.  Before printing on the transfer paper, test print it on a piece of ordinary paper to check on the alignment and colour.  Do the necessary changes


5.  Then print it on the transfer paper.  

6.  Cut out the labels and transfer them on cotton fabric or cotton tape.  Align the cut outs with the pictures facing the fabric/tape.
  

7. Place iron on high heat on the labels and fabric/tape for around 2 - 3 minutes or according to the instruction of the transfer paper.
Note:  If using satin or other fabric than cotton, it is advisable to layer the label and fabric with another thin cloth as the fabric might not be able to stand high temperature.

Please use dry iron.  Steam or water may smear the ink on the transfer paper.


8.  After it cools, peel off the transfer paper from the fabric/tape and there you go, your signature fabric label to be sewn on your projects.


Note:
transfer papers can be purchased from:

Sunday, September 21, 2014

Black and white

Improved version of my Emmaline Neccessary Clutch Wallet using black and white floral motif. These took a stretch of almost 2 months to complete due to my own schedule. It started early August when I cut the fabrics and stabilizers, then it stopped until this week. Since I have promised someone an Emmaline NCW for her wedding next week, I forced myself to complete them, at least one them.  Finally three of them were done yesterday.  A great accomplishment!

2 Emmaline NCW using the same fabric secured with heart shape twist lock.  It can be a clutch,  a wrislet and a sling purse (attached with an antique bronze chain).  Suitable for evening dinner


A zip around wallet with keyboard pattern cotton fabric.